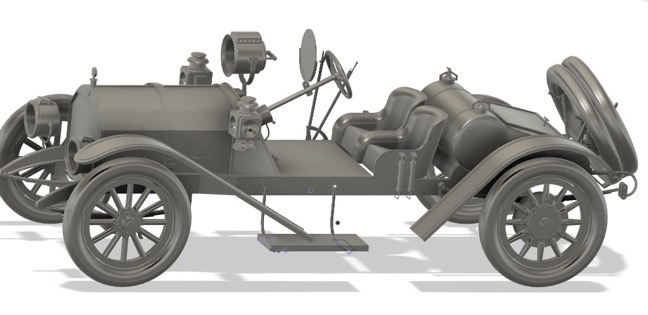
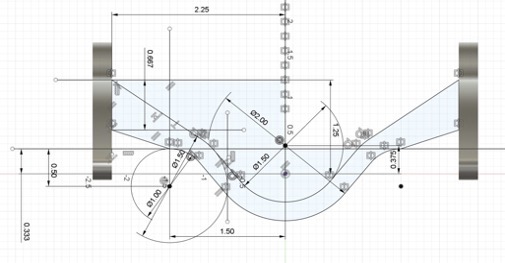


CAD Software
Autodesk Fusion 360 (Free Home Version)
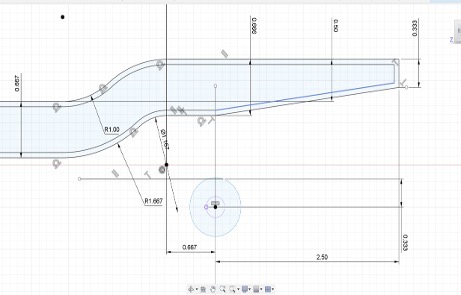
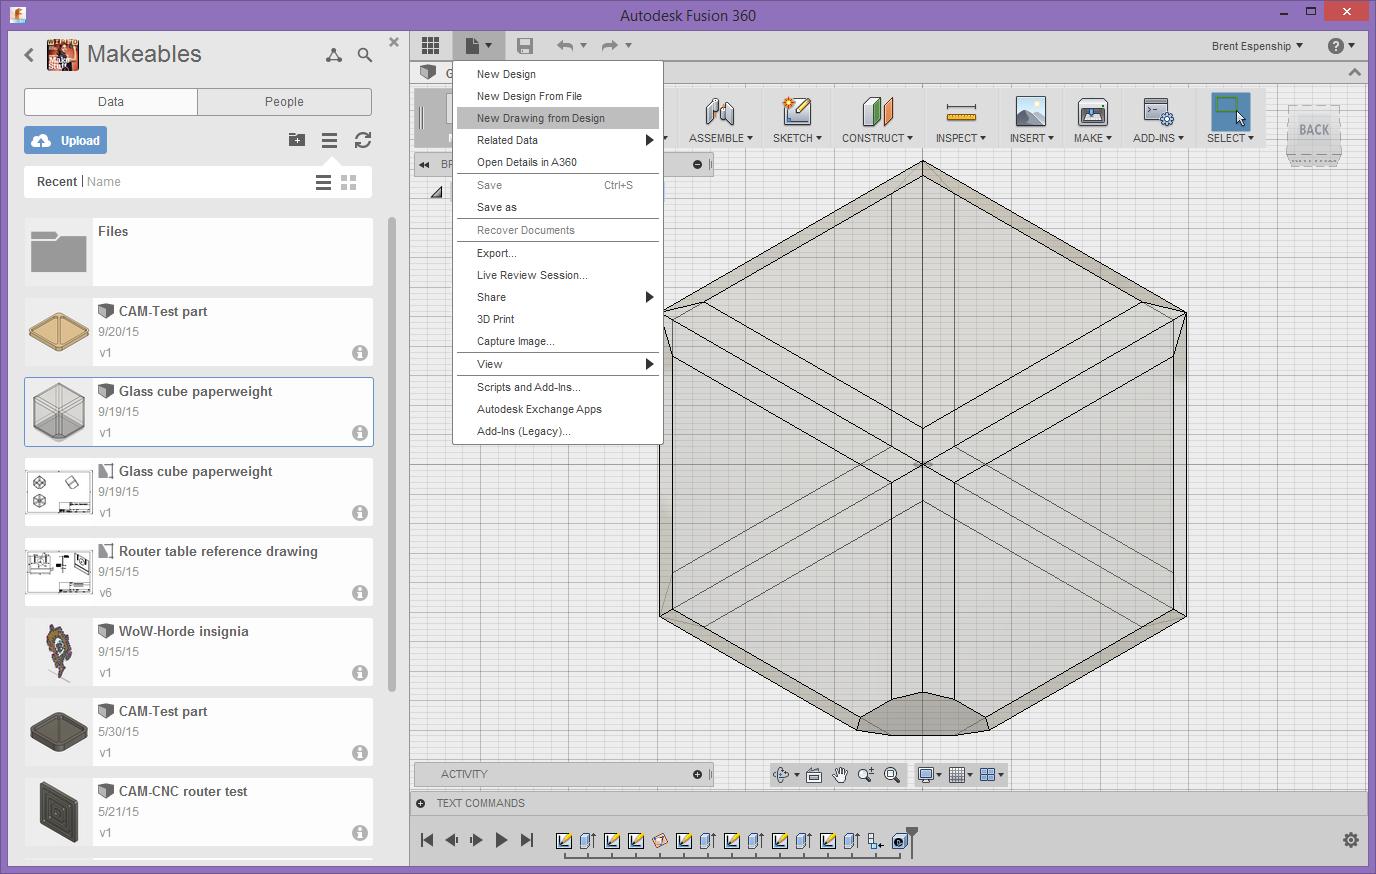
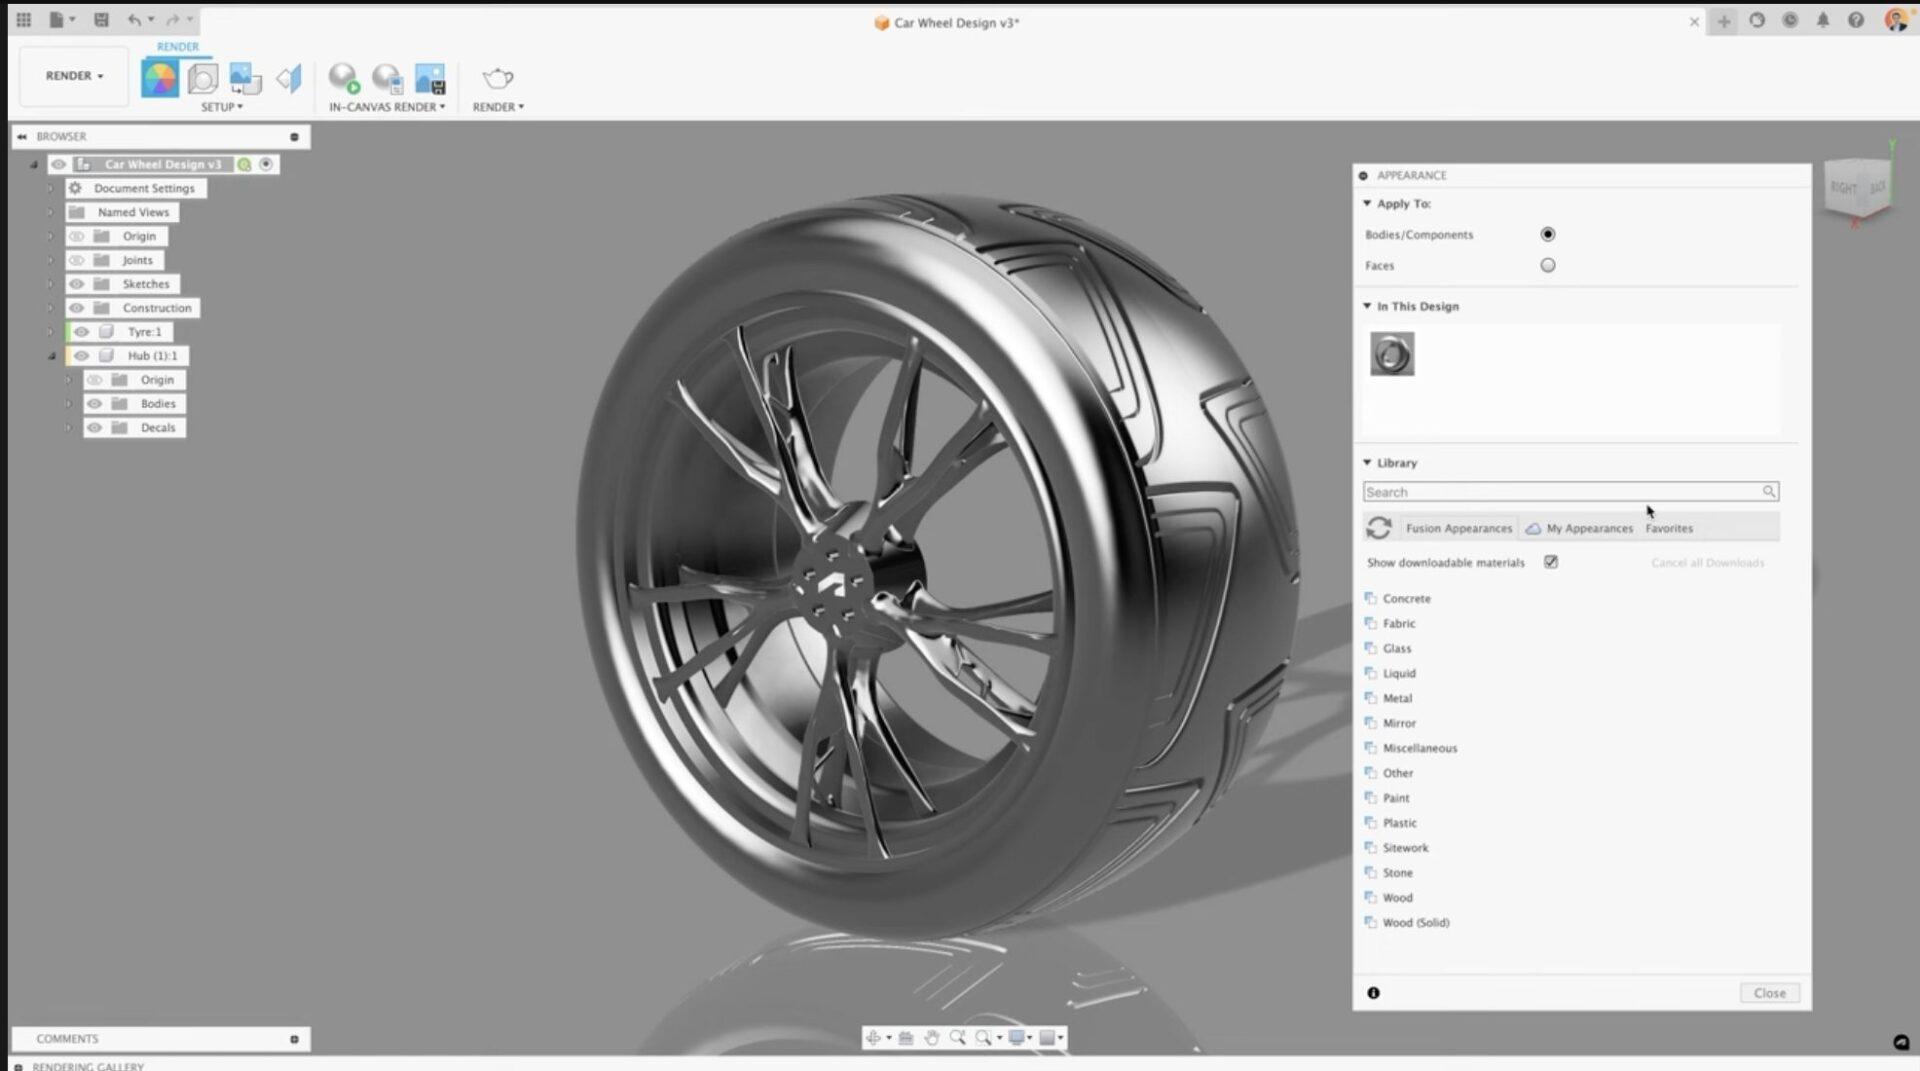
Function: 3D CAD design, modeling, and CAM — toolpath generation.
Where to get it: Free personal-use version from Autodesk’s website.
- Create detailed digital models of parts.
- Generate precise dimensions and drawings.
- Simulate machining operations before cutting material.
Tool Supplier
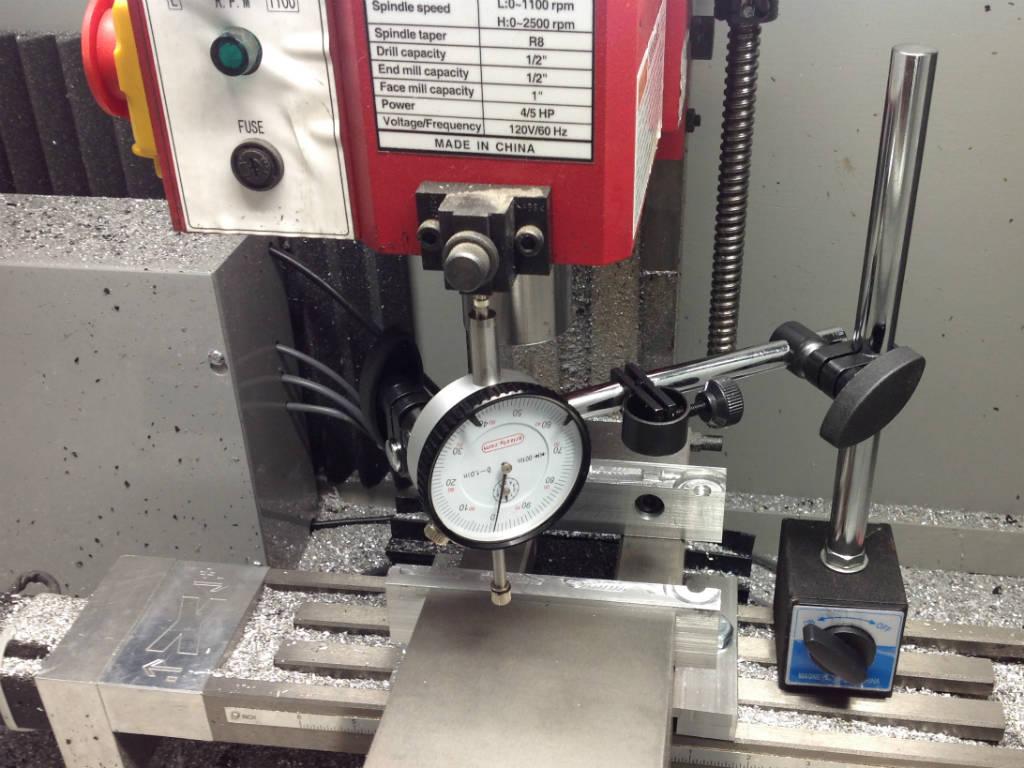
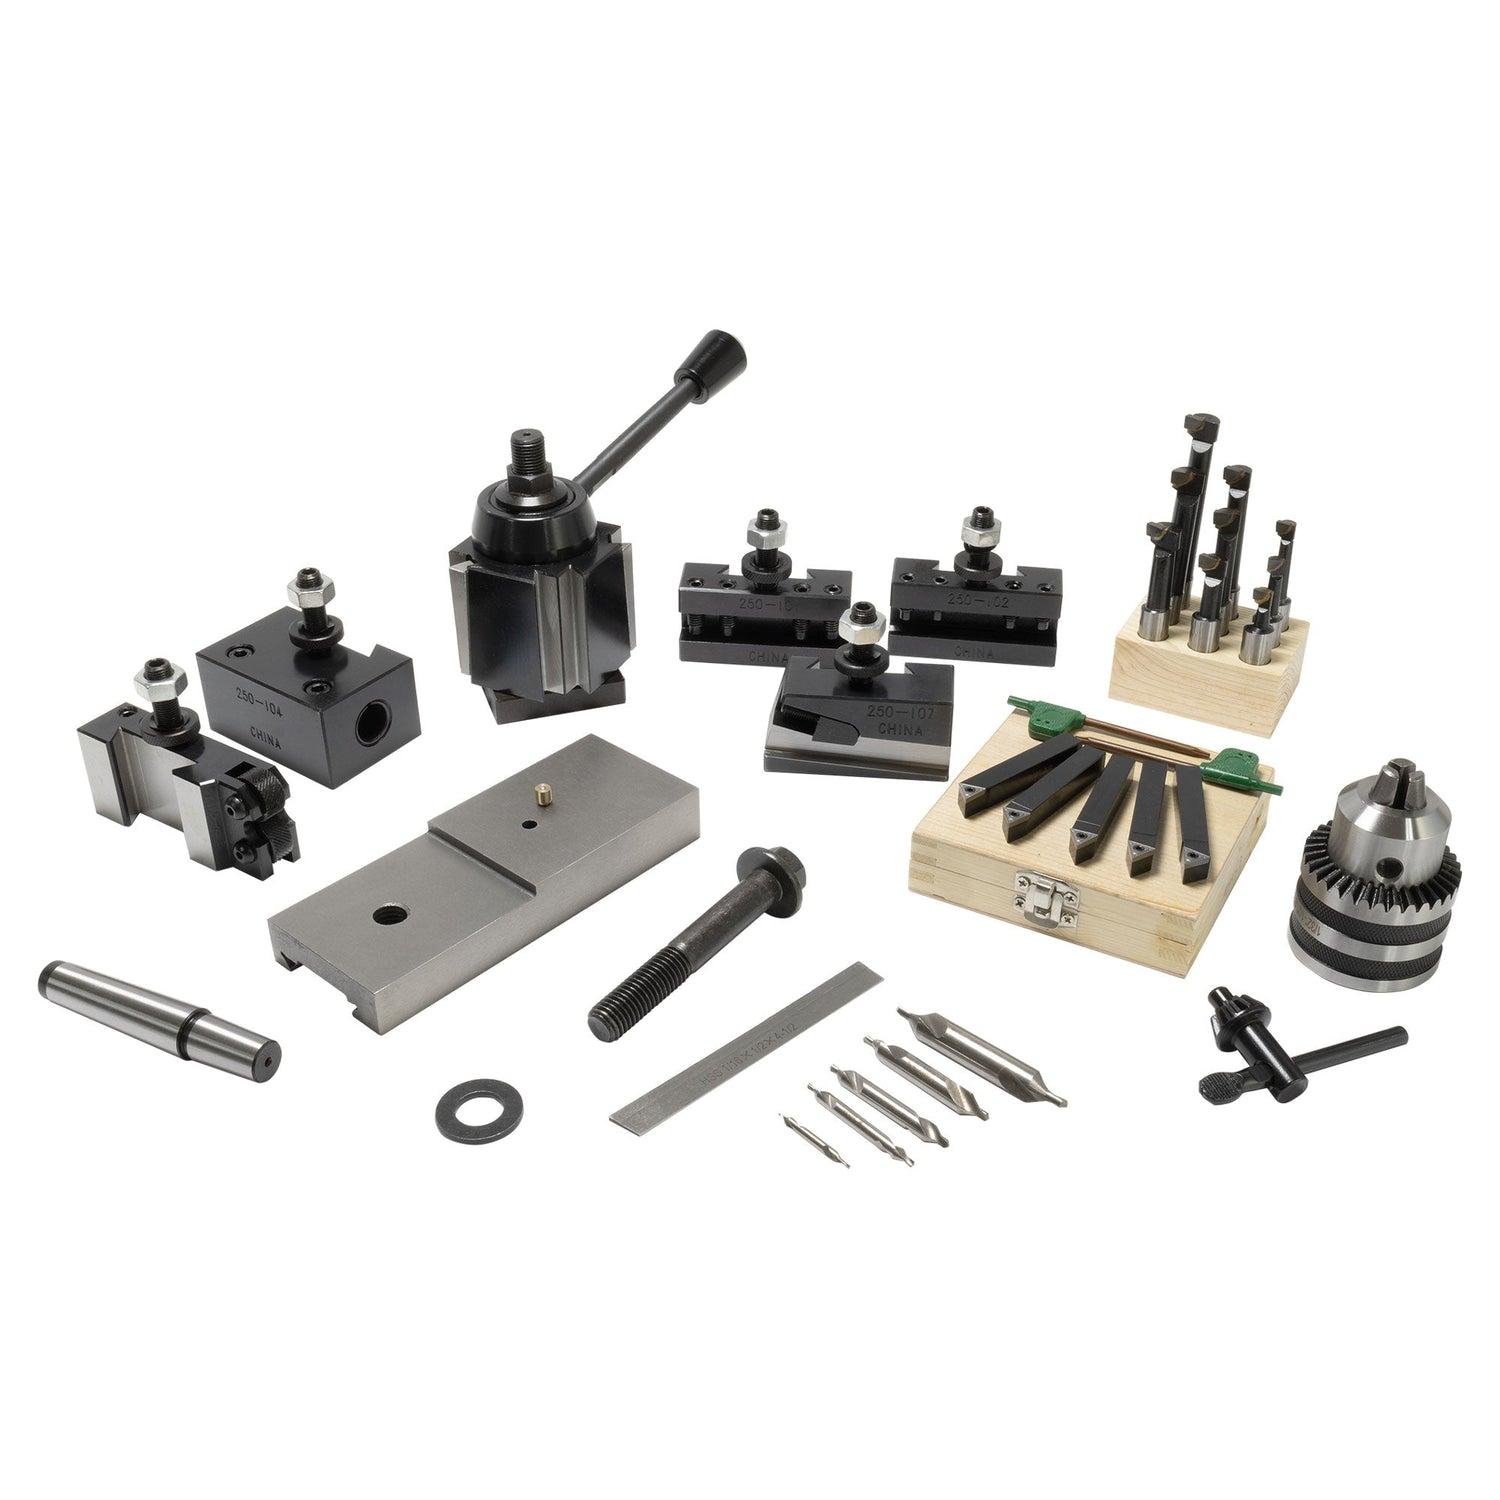
Little Machine Shop
Function: Supplier of small-scale machining tools and accessories.
Where to get it: Pasadena, CA and online.
- Milling equipment and accessories.
- Rotary tables, indicators, cutters, setup tools.
- Turns a basic mill into a working shop.
Milling Machine
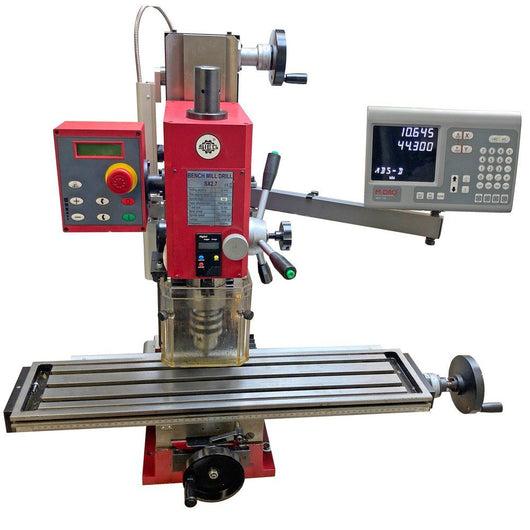
SIEG Bench Top Mill with Digital Readout
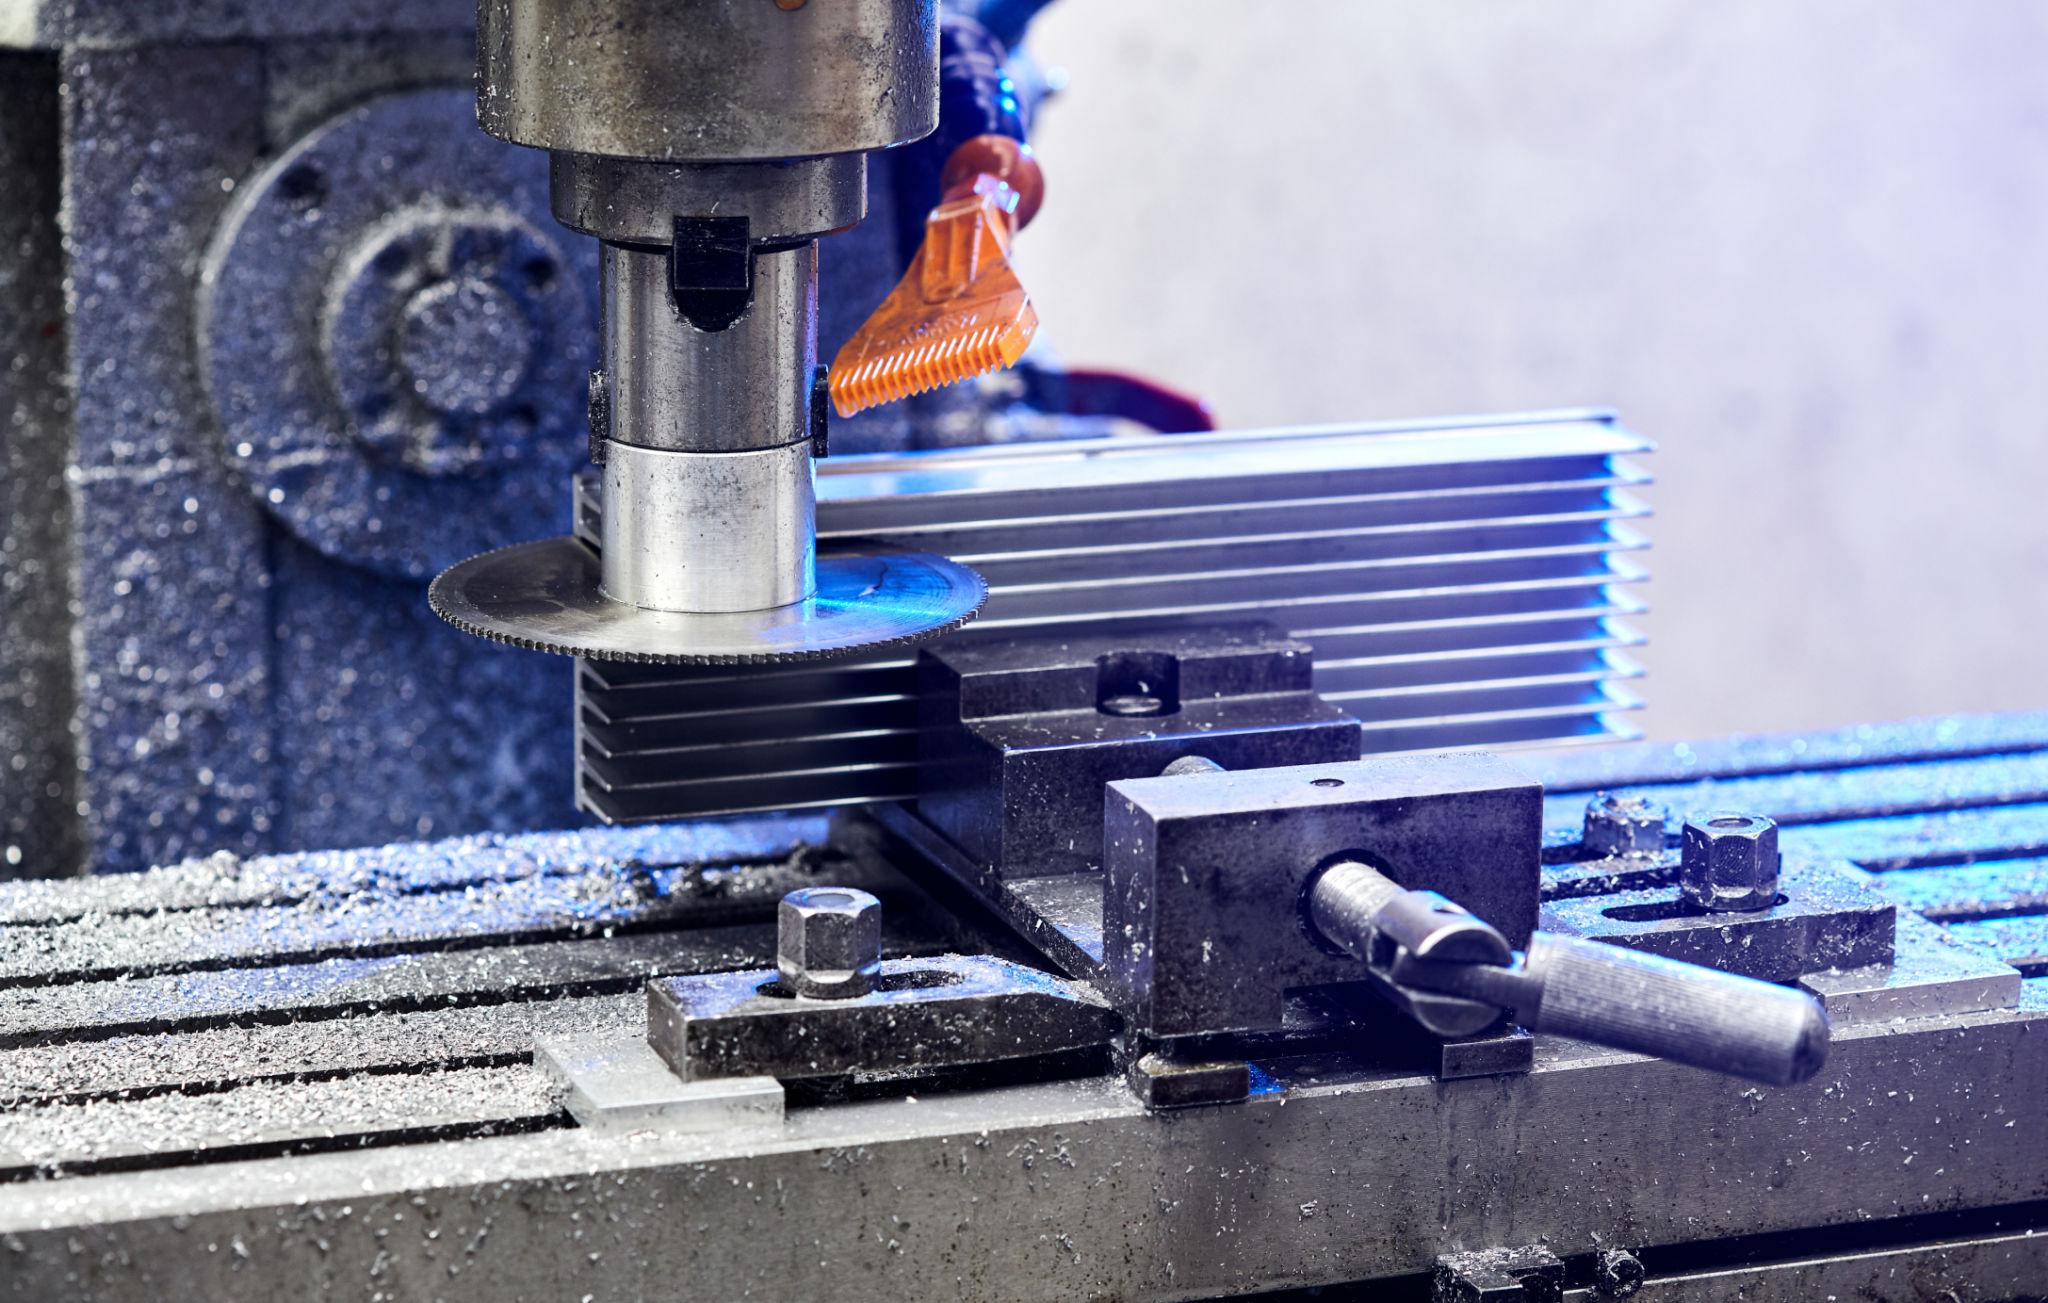
Function: Precision cutting and shaping of metal.
- Cut flat surfaces, slots, and pockets.
- Use DRO for precise positioning.
- Create custom non-kit parts.

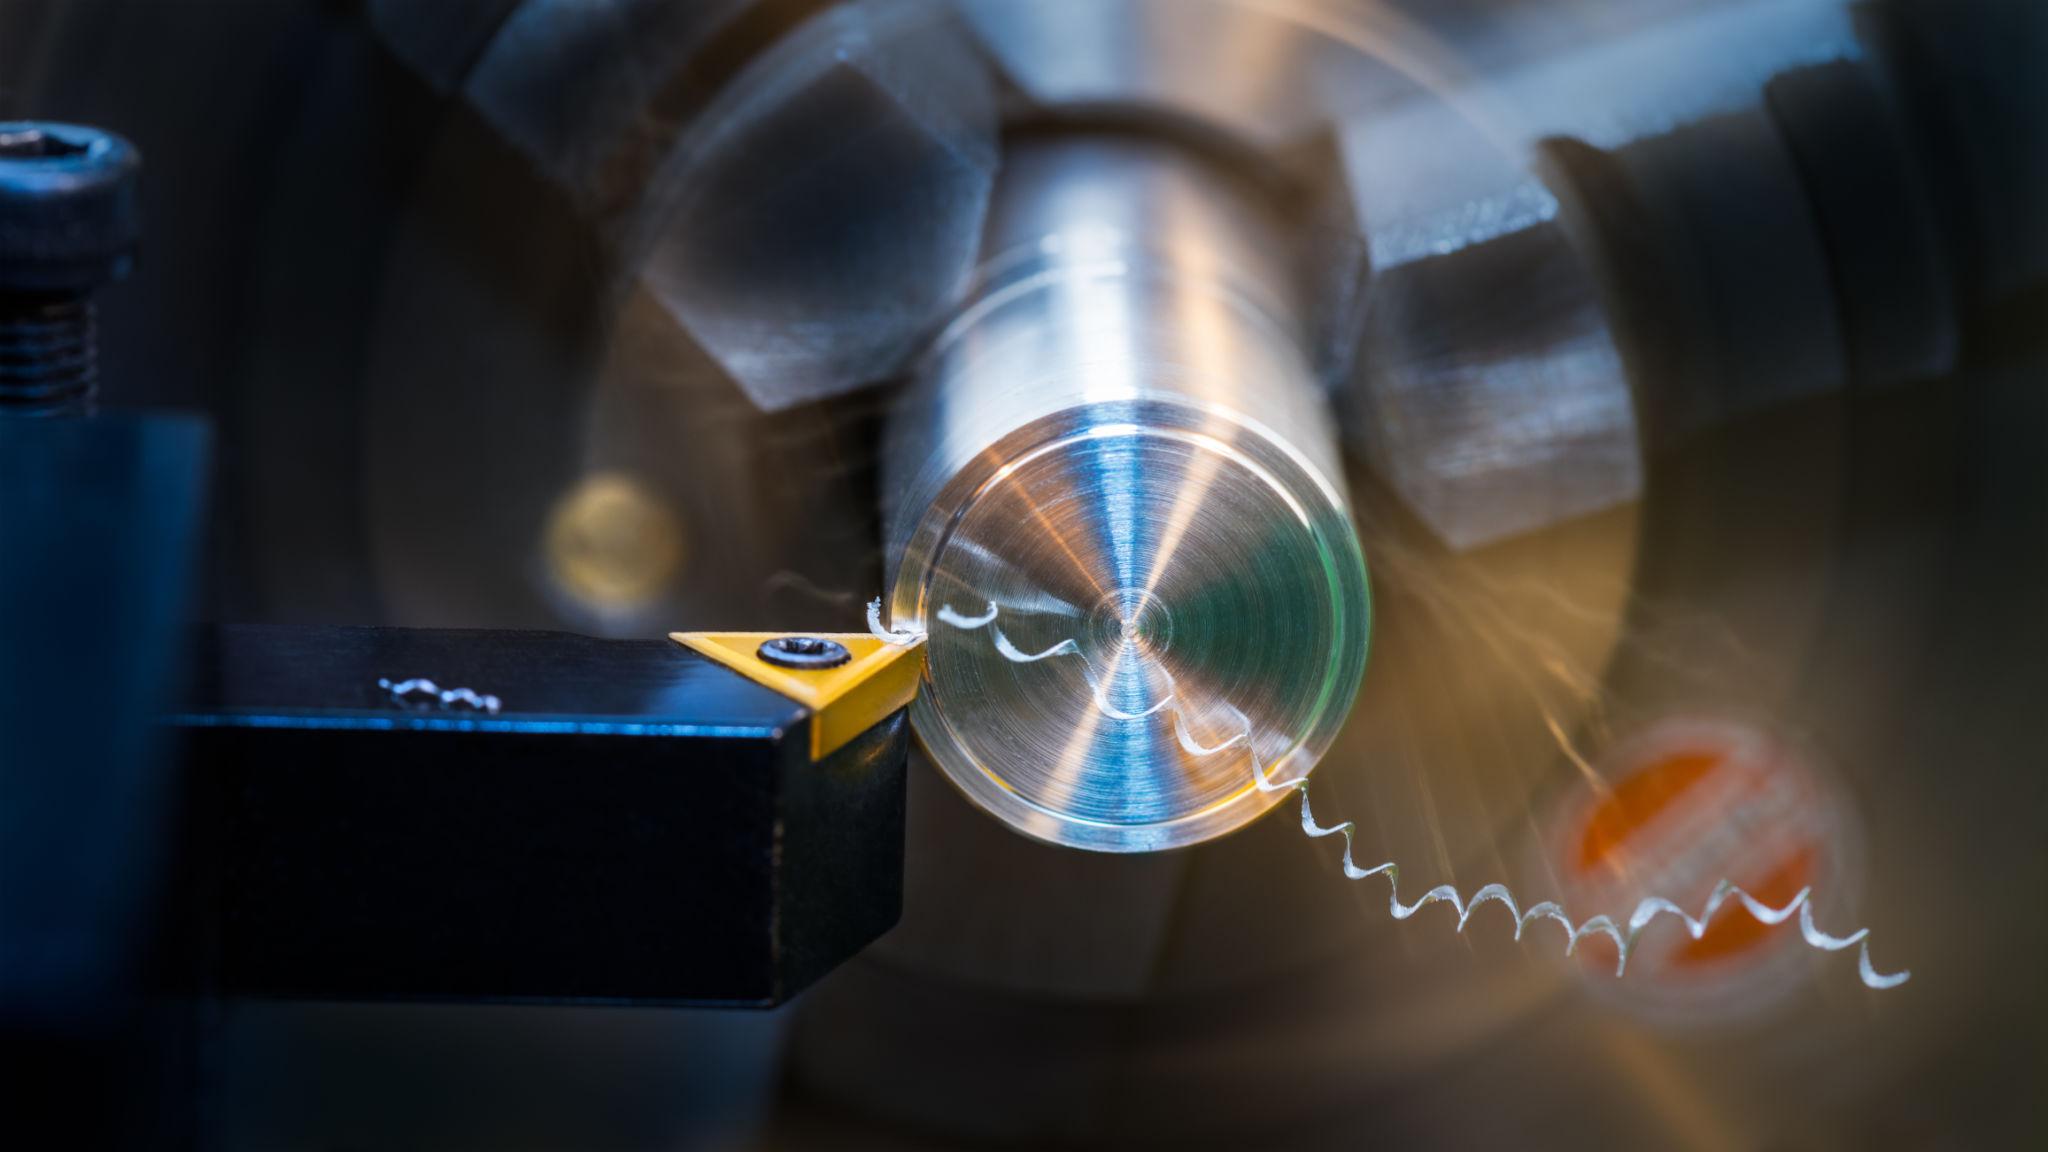
Lathe
Harbor Freight Lathe
Function: Turning cylindrical parts.
- Shape spinning material.
- Create shafts, rods, bushings.
- Complements the mill.
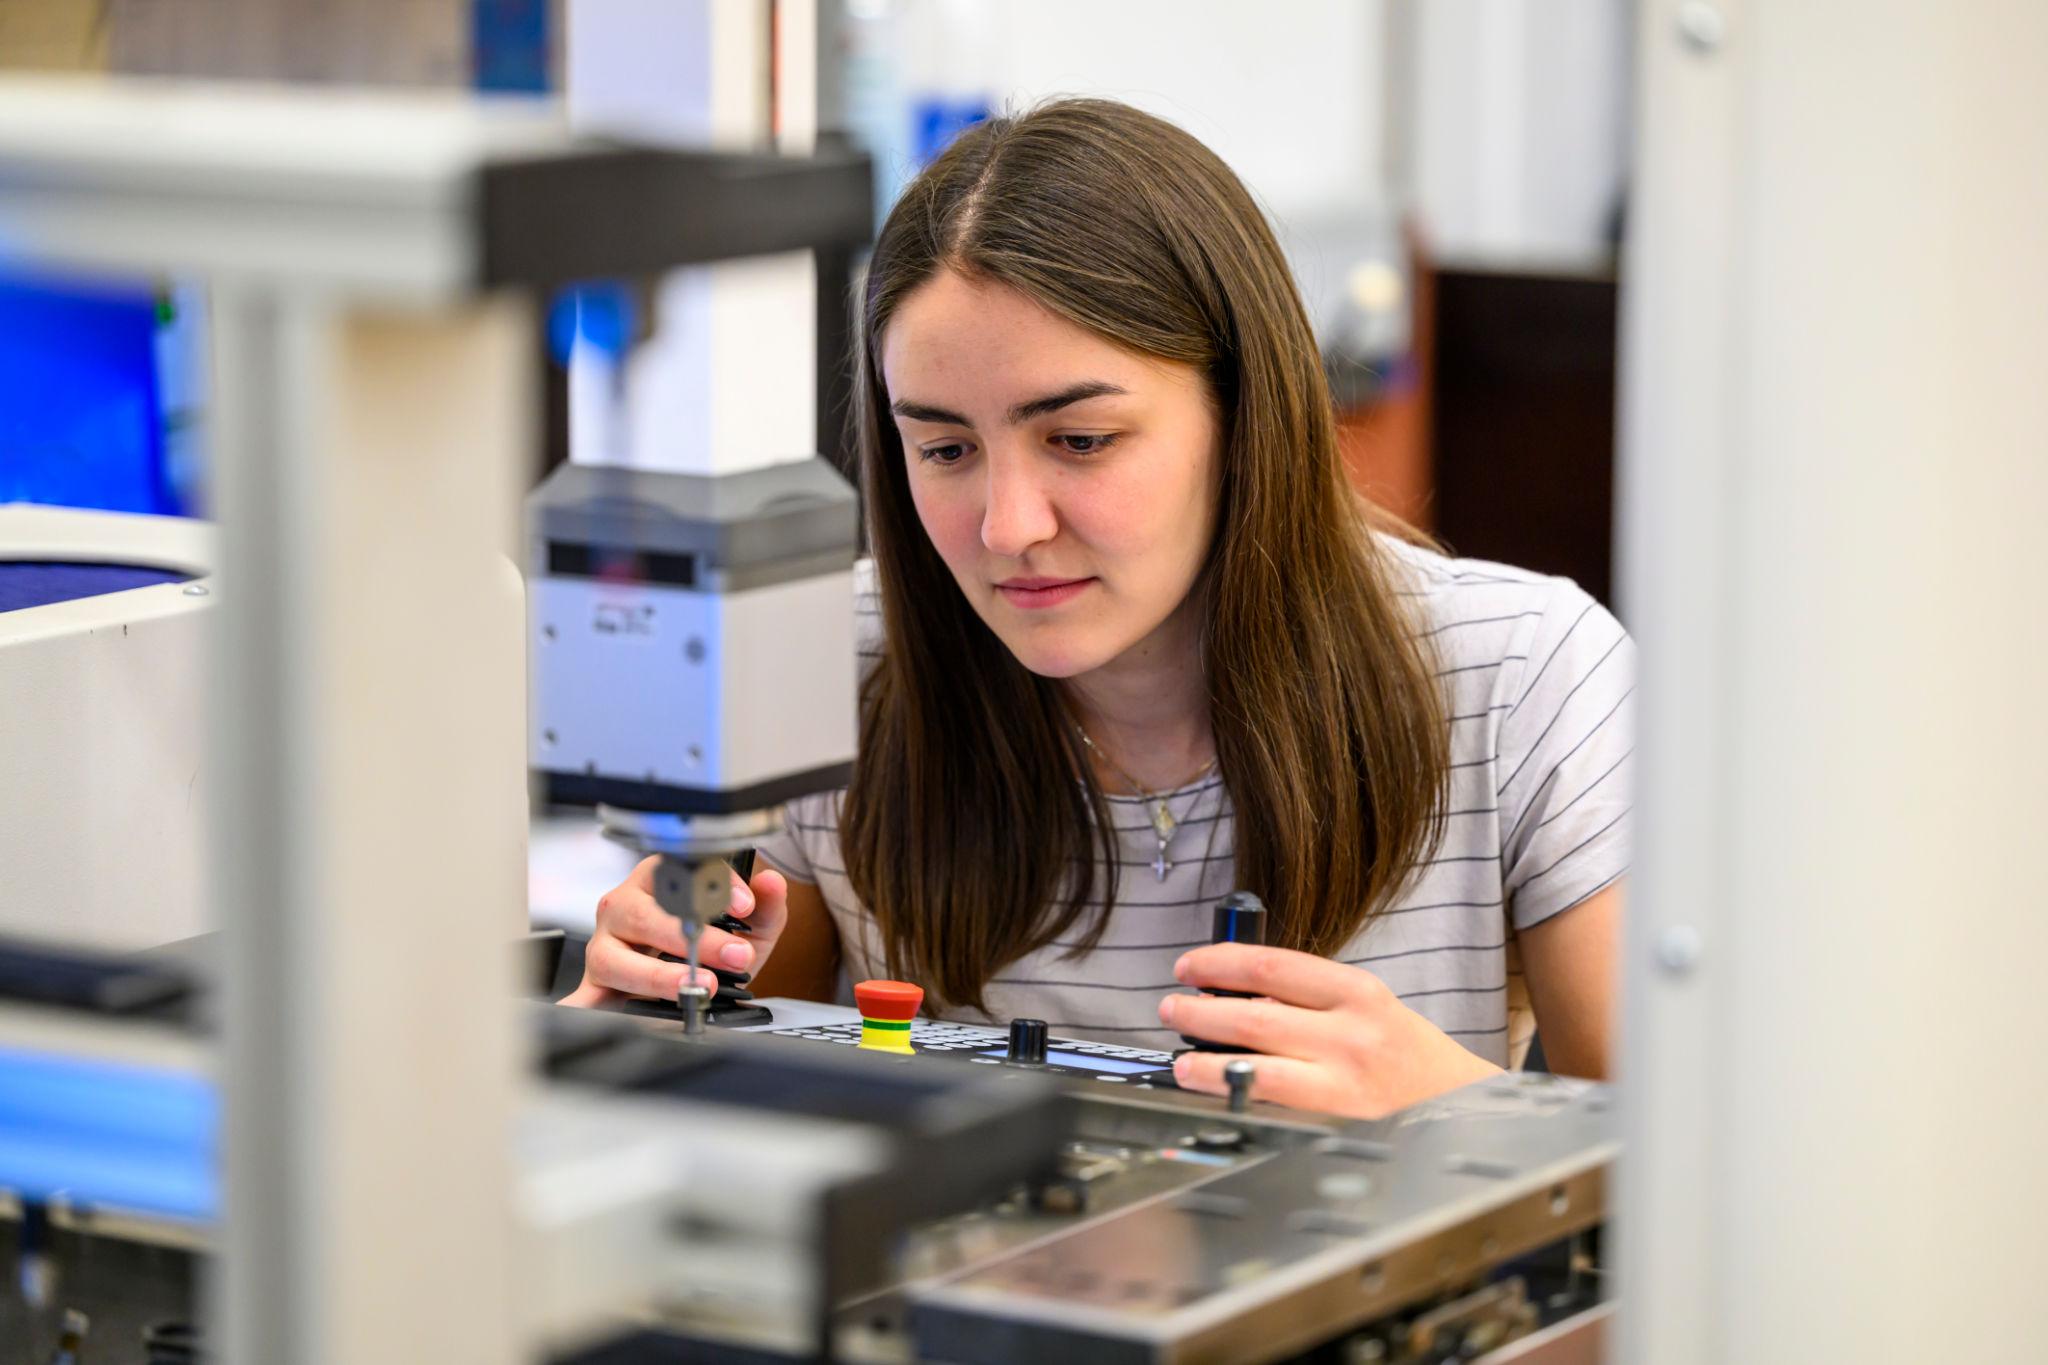
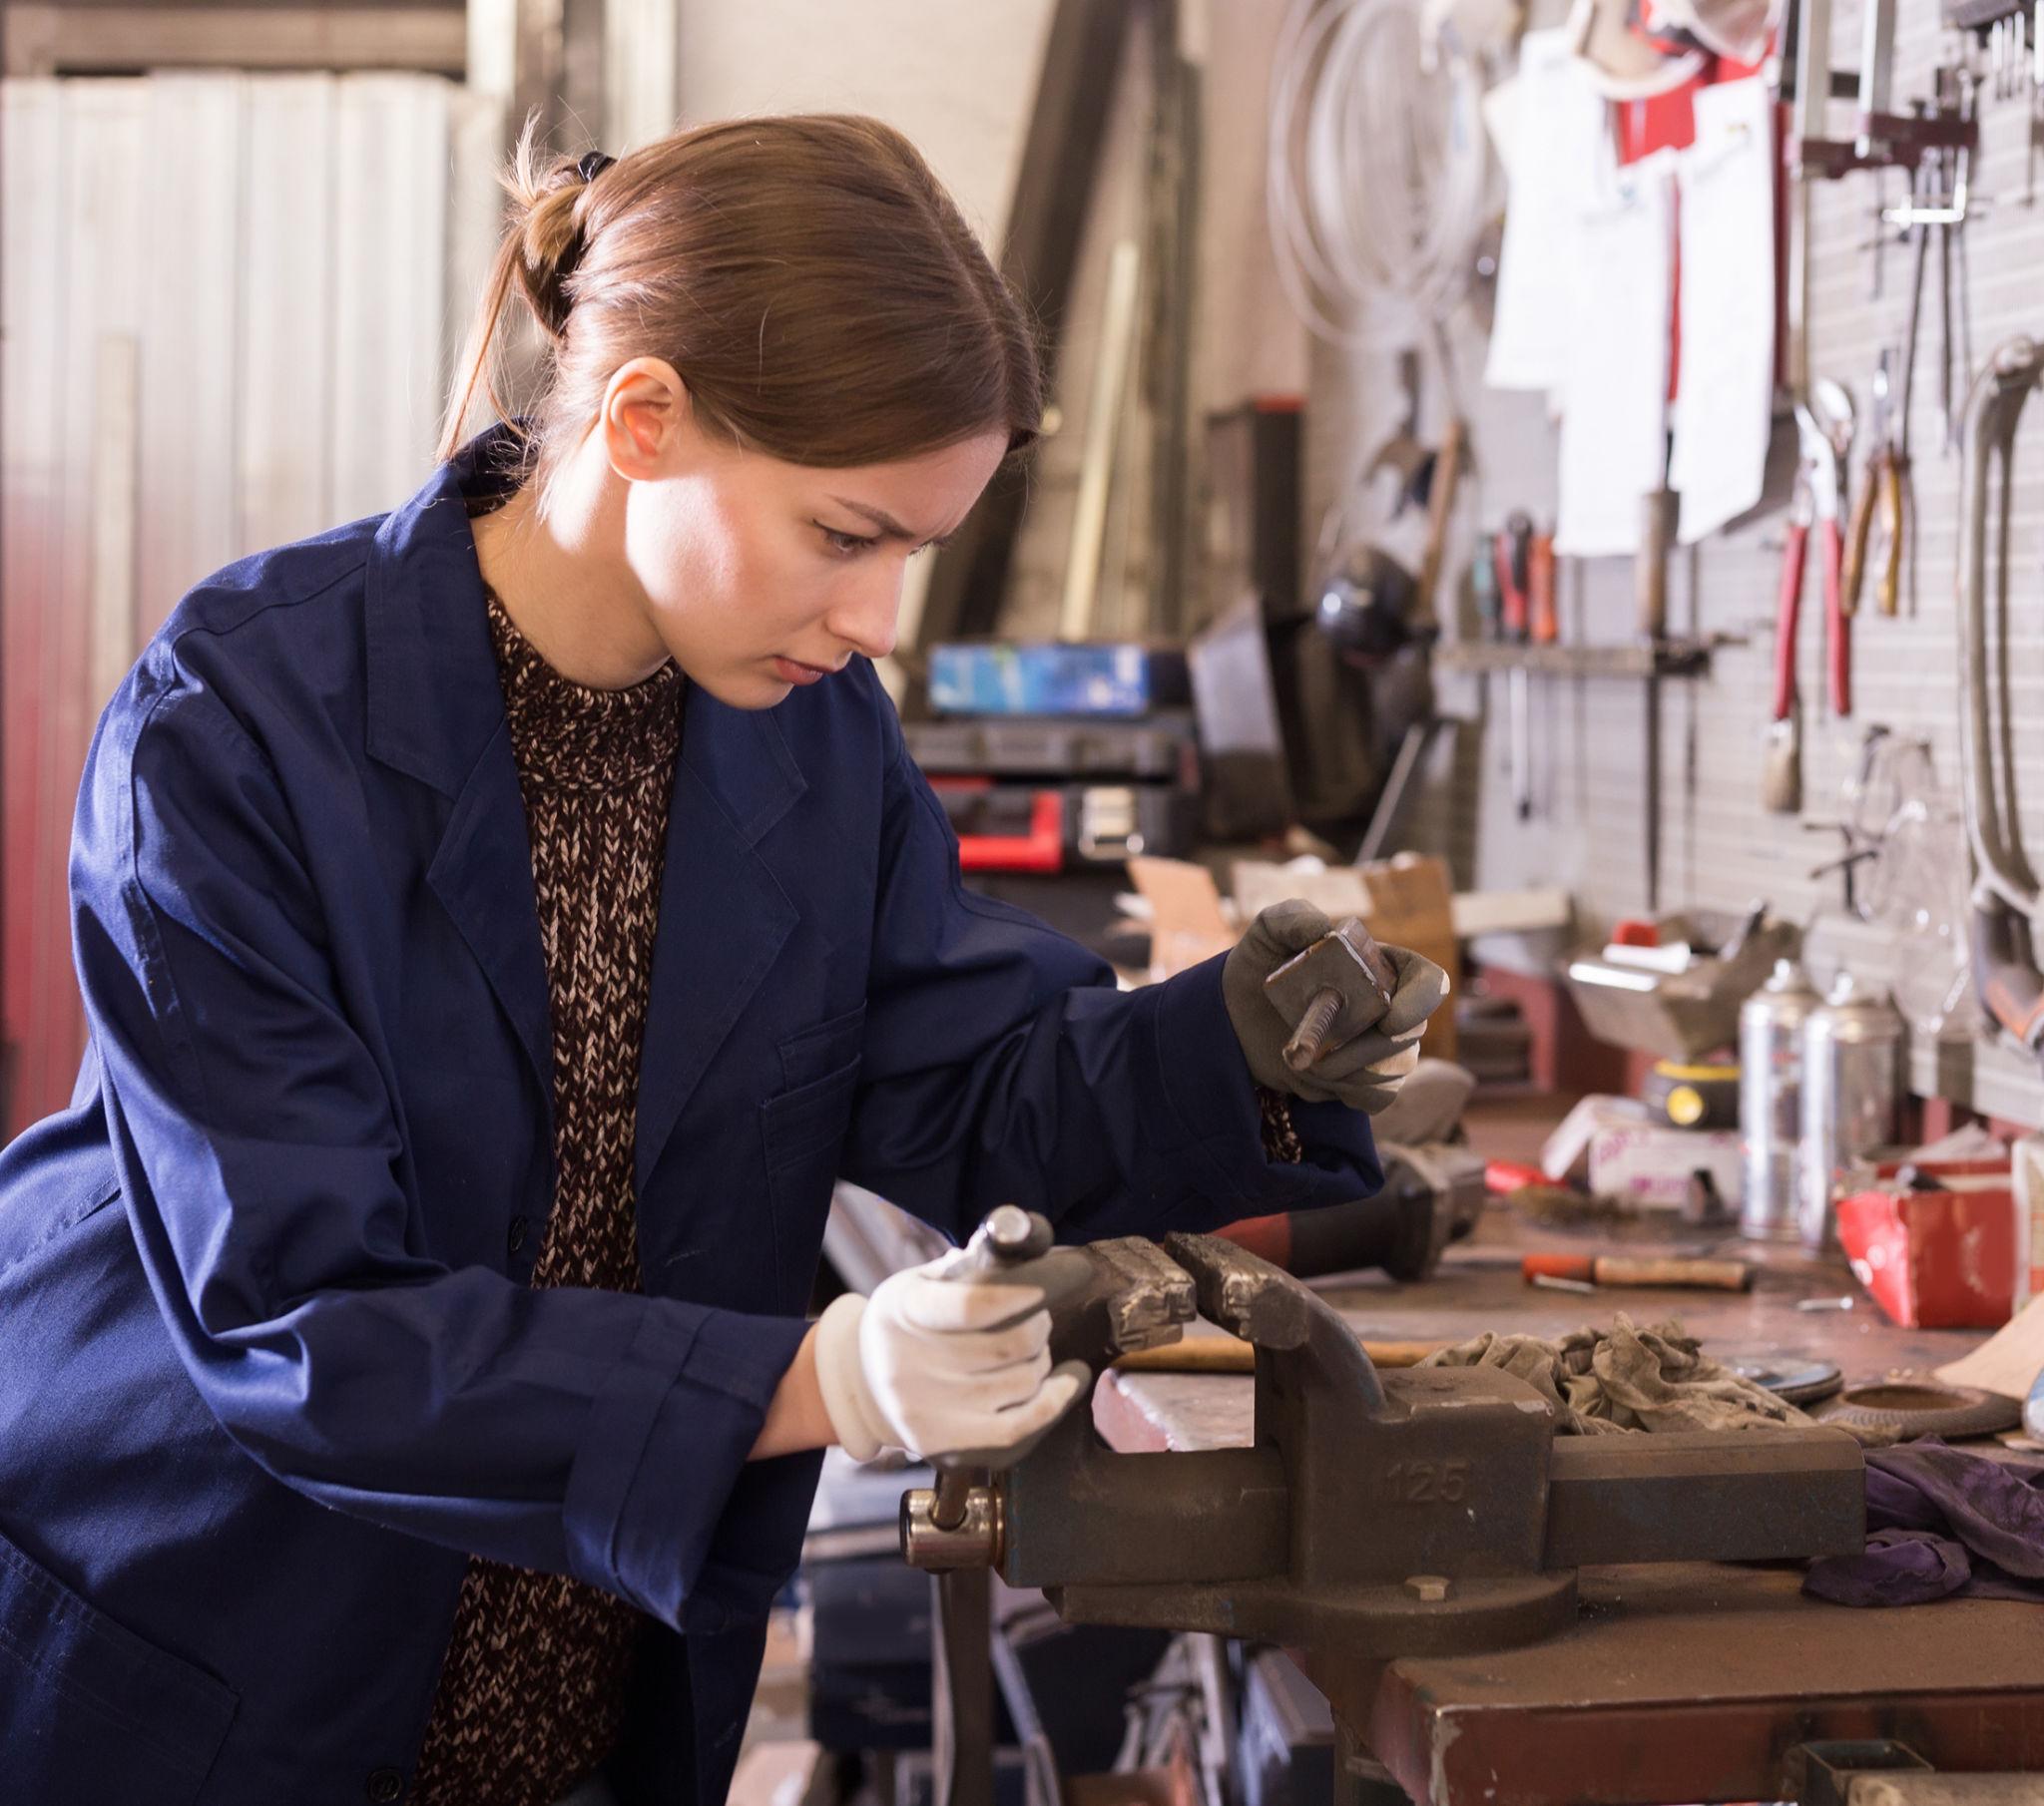
Skillset
Self-Taught Machining Practice
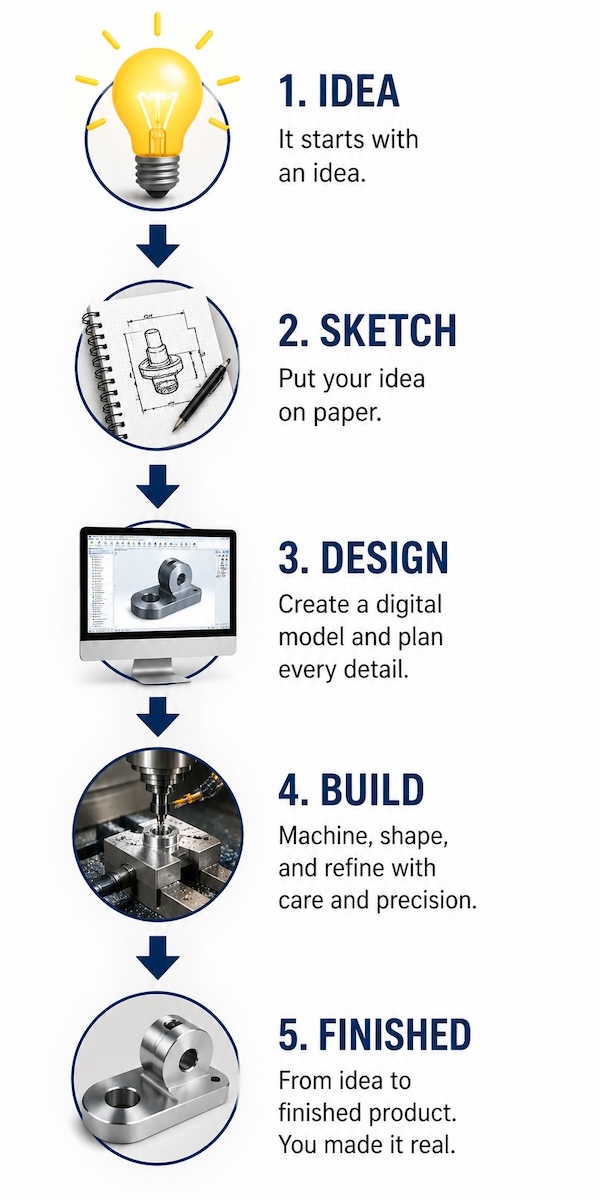
Function: Turning ideas into real parts.
- Translate CAD into machining steps.
- Iterate and refine.
- Develop real-world judgment.